| Installing Hurst Billet Shifter
Purpose
Shorter throws and better 2-3 shifts.
Tools Required
- T15 Torx Screw Driver
- 3/8in Socket/Ratchet
- 10mm Socket/Ratchet
- 3/16in Hex Key
- 3/16in Open End Wrench
- Locking Pliers
- Flat Head Screw Driver
Parts
|
Manufacturer
|
Part #
|
Description
|
Purchased From |
Price
|
|
Hurst |
391 5085 |
Hurst Billet/Plus Shifter |
PFYC.com |
$169.00 |
|
Total
|
Not including shipping.
|
$169.00 |
Installation
Install Time: (45-60min.)
Click On An Image To See It In Full Size
Description: Hurst Billet/Plus Shifter
- Provides shorter and quicker shifts by reducing knob travel 30%
- Custom dedicated fit eliminates any vehicle modifications for ease of
installation
- Accepts stock Corvette shift knob and boot
- CNC machined 6061 T-6 Billet Aluminum mounting base and Billet Steel gear
selector for ultimate strength
- Patented adjustable bias spring loads allow stick tension to be tailored
to drivers preference
- Self-centering alignment improves 2nd to 3rd gear changes to reduce the
chance of "missed shifts"
- Positive gear stops eliminate overshifting to help prevent internal
transmission damage
This will seem like a big challenge, but it really isn't.
Now, where do you start? Well, I would begin by reading the instructions
supplied by Hurst, they are very detailed and should be all you need to get
started. Here are a few steps I took.
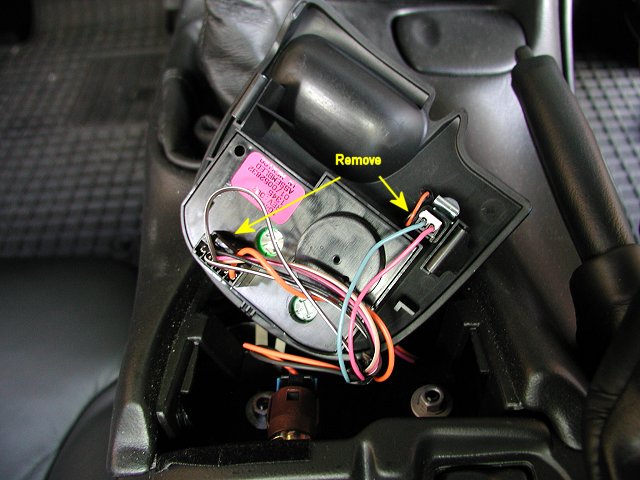
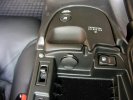
1. Remove center traction control
console.
Gently prying it up from the corner with
your fingers. If
you find it hard to do with your finger, just gently pry it up using a flat head screw
driver.
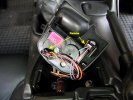
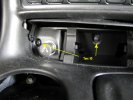
 2. Disconnect wire harness under traction control
console.
On
the Z06, there will only be two connections as pictured, on other models
you'll have to disconnect the variable ride controls.
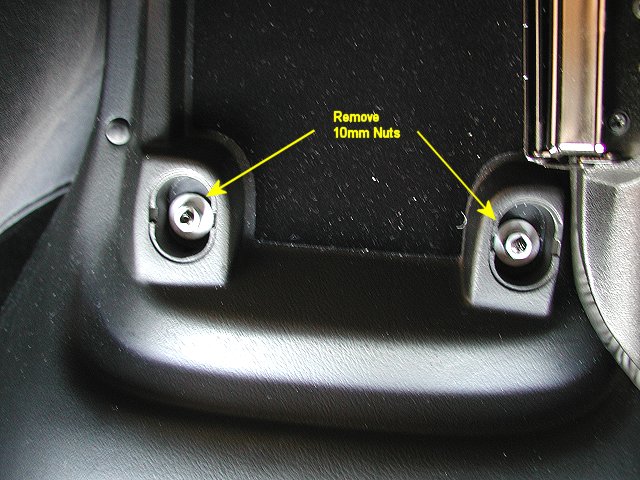
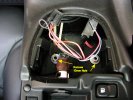
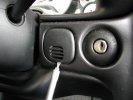
3. Remove 10mm nuts & disconnect cigarette lighter
connections.
The two 10mm nuts are exposed after removing the console from step 1. Remove both nuts and
also disconnect the cigarette lighter connection.
4. Remove 10mm nuts from rear console.
With the center console lid open, pop off the nut covers
in the rear and remove the two 10mm nuts. Now you should be able to simply
lift the console from the rear and pull it out. You'll have to disconnect
the gas door release switch from underneath the console so you can fully
remove it.
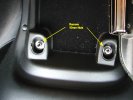
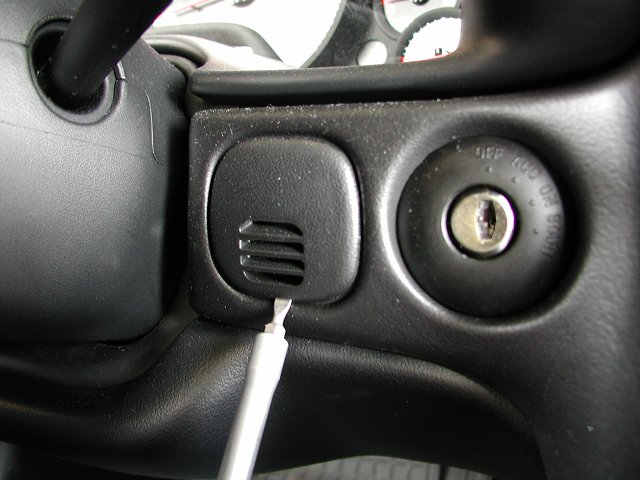
5. Remove dash cover.
Now in order to remove the front center console, you'll
have to pop open the cover pictured to the left.
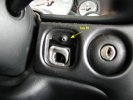
6. Remove Torx 15 Screw.
A T15 Torx screw is exposed once the dash cover is removed. Remove the
T15 Torx screw and
get ready to remove two more.
7. Remove Torx 15 Screws.
Take out the ash tray and you should see another T15 Torx
screw. To the left of the cigarette lighter is another. Remove both T15 Torx
screws.
8. Remove stock shifter & stock leather shift boot.
Now the hard part of the job. You'll have to remove the
stock shift knob.
Here you'll have to pop off the shift pattern cap. Just pry it off using
a flat head screw driver. Now the T stake is expose. You'll have to use a
vice grip and grab it on the sides and rock it out. You can make it easier
by putting a small block of wood in the front and leverage it out with a
screw driver between the vice grip.
Once the knob is removed,
grab the leather boot from the edge and push inward and up till it's removed.
Now if you slide the whole console to the rear, it should pop right out.
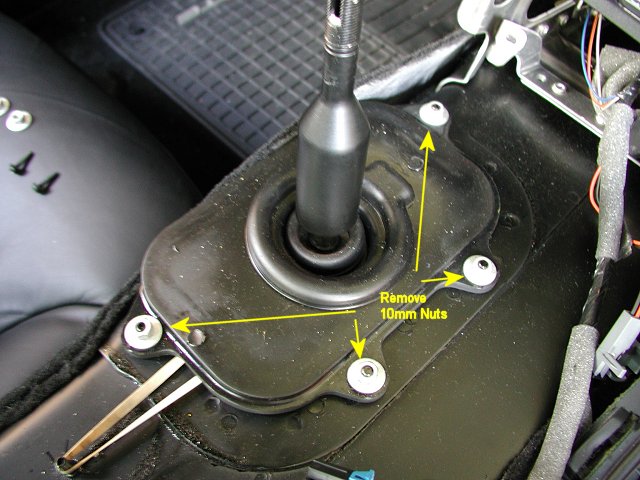
 9. Remove four 10mm nuts.
Remove the four 10mm nuts from the rubber isolator boot
to expose the stock shifter.
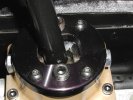
10. Remove four 3/8" bolts.
Here it is, finally, lets get this thing out. Remove four 3/8" bolts and gently pry the edges of the shifter with a flat head
screw driver.
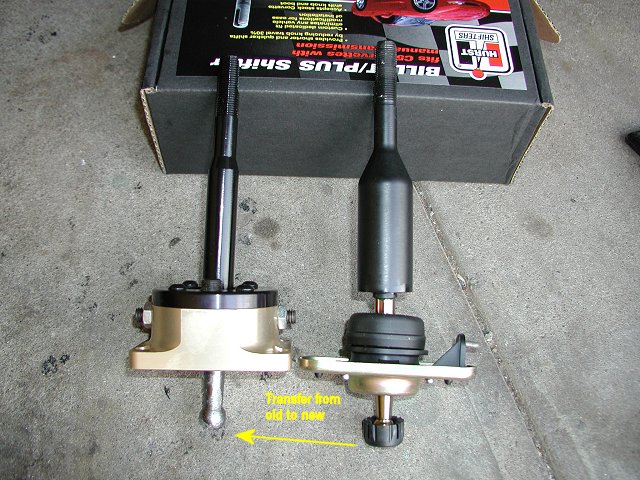
11. Transfer bushing.
Now you'll have to transfer the stock bushing to the
Hurst shifter. I found it easy to just pop it off with my thumb. Lube the
Hurst with some grease then place it in a flat surface and push the Hurst
shifter down on it. It should easily pop in place.

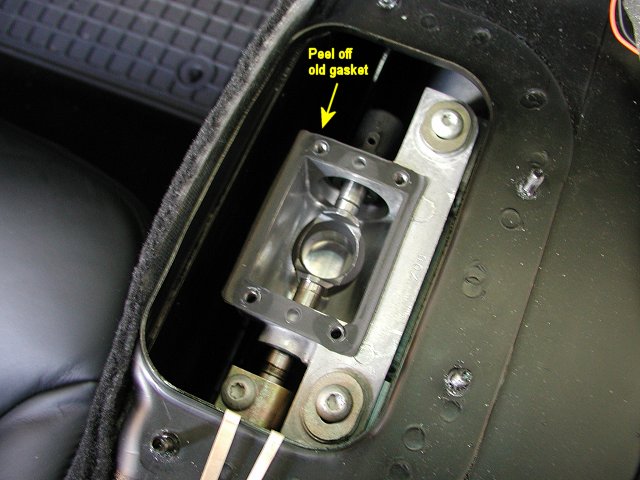
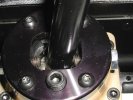
12. Install new gasket.
Now you should remove the stock gasket. If you
carefully peel it off very slowly, it should come off in one piece. This
will save you some cleanup. Replace it with the new gasket supplied.

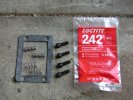
13. Here is the hardware that is supplied with the Hurst. I
chose not to use the extra springs supplied since the factory springs on the
Hurst were perfect for me.
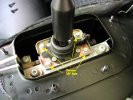
14. Torque hex bolts to 8-10 lb-ft.
Now slide the Hurst shifter in place slowly while
lining up the holes with the gasket. Make sure the cutout on the shifter is
facing the rear. Once lined up, torque the 3/16" hex bolts down to
8-10
lb-ft. Tighten them down in a star pattern. (Like as if you had four lug
wheels on your car)

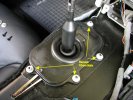
15. Adjust lower gear stop.
The directions state to put the shifter into 2nd gear
as pictured to the left. That shot is taken from the passenger side of the
car. Tighten the 3/16" hex screw until it touches the shaft of the shifter.
Now back it out 1/4 of a turn and tighten down the nut to hold it in place.
16. Adjust upper gear stop.
Now put the shifter into 3rd gear and repeat the above step (15). Once done,
run through all the gears and make sure the shifter moves freely.
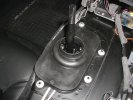
17. Invert rubber isolator and tighten down.
Take the rubber isolator and invert the center so it
can fit over the Hurst. Now just loosely tighten down using the original
10mm nuts. Don't crank down
on it, just snug is fine.
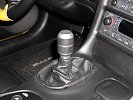
18. Reverse all steps to push dash back in place.
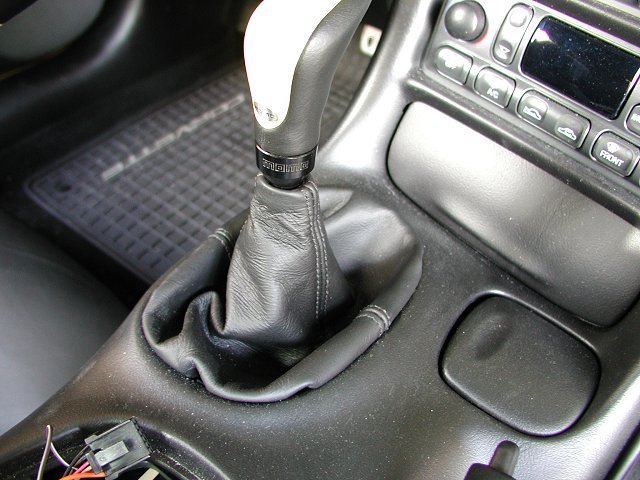
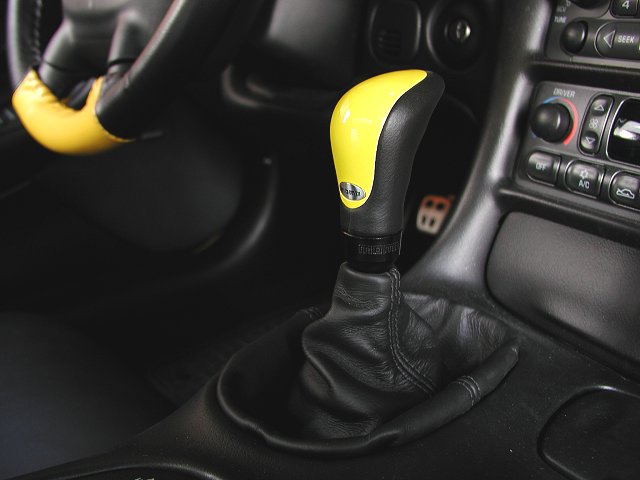
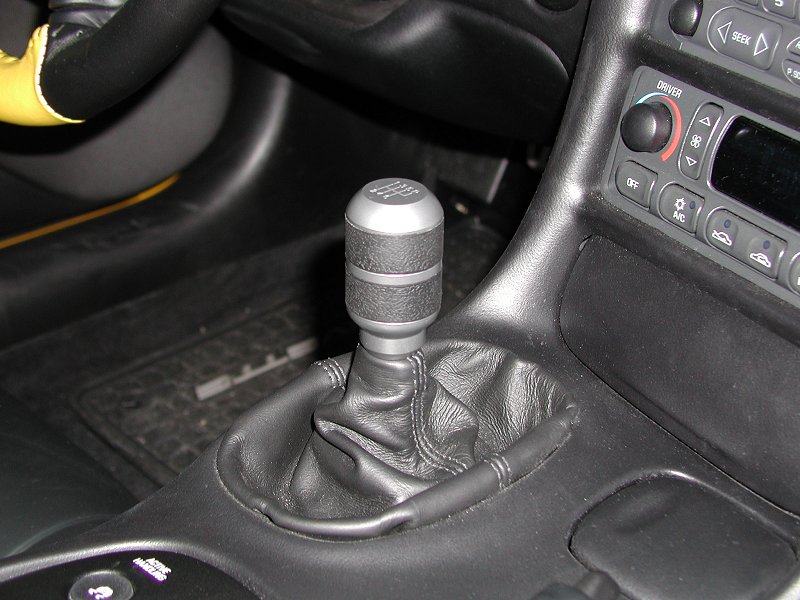
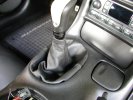
Install the leather shift boot and shift knob last.
Once everything is put back in place, here is the
finished product. Not only does it look good, it performs great! This is how
it should come from the factory. Pictured below is my old Momo shift knob to
the left and the new MGW Pistal Grip shift knob to the right.

|